
The Venstar T2800 is a commercial, 7-day programmable thermostat designed for advanced HVAC control. It supports up to 3 heat and 2 cool stages, offering precise temperature management and energy efficiency.
1.1 Overview of the Venstar T2800
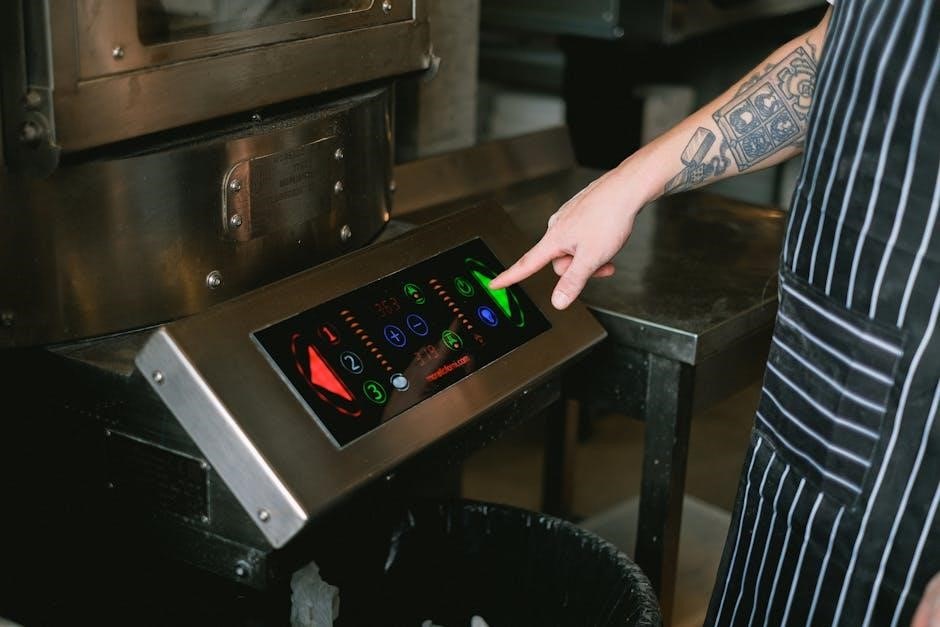
The Venstar T2800 is a slimline, commercial-grade digital programmable thermostat offering 7-day scheduling and compatibility with various HVAC systems. It supports up to 3 heat and 2 cool stages, providing precise temperature control. Designed for commercial use, it features a user-friendly interface and is compatible with heat pumps, gas heating, and hydronic systems. The thermostat is backed by a detailed 89-page owner’s manual, ensuring comprehensive guidance for installation and operation.
1.2 Key Features of the T2800
The T2800 features a 7-day programmable schedule, allowing customizable temperature settings for different days. It supports up to 3 heat stages and 2 cool stages, ensuring flexibility. The thermostat is compatible with heat pumps, gas heating systems, and hydronic heating, making it versatile for various HVAC setups. Additional features include a large, easy-to-read display and a removable interface for simplified installation and maintenance.

Installation Instructions
Disconnect power to your HVAC system before starting. Follow the step-by-step guide in the manual to ensure proper installation. Verify system compatibility and refer to the manual for detailed instructions.
2.1 Pre-Installation Checklist
Before installing the Venstar T2800, ensure your HVAC system is operational. Verify compatibility with your heating and cooling stages (up to 3 heat, 2 cool). Check power requirements and wiring connections. Turn off power to the HVAC system at the breaker. Carefully unpack the thermostat and accessories. Review the installation manual for specific instructions tailored to your system configuration. Ensure all tools are ready.
2.2 Step-by-Step Installation Guide
Begin by turning off power to your HVAC system at the circuit breaker. Remove the old thermostat, noting wire connections. Mount the new Venstar T2800 base plate securely. Connect wires to the appropriate terminals, following the manual’s wiring diagram. Attach the thermostat faceplate, ensuring proper alignment. Restore power and test the system to confirm functionality. Follow all safety precautions and refer to the manual for specific wiring instructions.
2.3 Connecting the Thermostat to Your HVAC System
Connect the thermostat wires to your HVAC system’s corresponding terminals, following the wiring diagram in the manual. Ensure compatibility with systems like heat pumps, gas heating, or hydronic systems. Verify all connections are secure and properly labeled. Turn the power back on and test the system to ensure proper operation. If unsure, consult a qualified technician to avoid damage or safety hazards.

Programming the Thermostat

The T2800 allows 7-day programmability with customizable temperature settings. Easily set schedules and adjust modes to optimize comfort and energy efficiency, ensuring precise climate control throughout the day.
3.1 Understanding the Programming Modes
The Venstar T2800 offers multiple programming modes, including Manual, Auto-Changeover, and Programmable Modes. Manual Mode allows direct temperature control, while Auto-Changeover automatically switches between heating and cooling based on the setpoint. Programmable Mode enables custom schedules, optimizing energy use and comfort. These modes ensure flexibility, allowing users to tailor operations to their specific needs and preferences, enhancing overall efficiency and convenience.
3.2 Setting Up Weekly Schedules
The Venstar T2800 allows you to create custom weekly schedules for precise temperature control. Press the MODE button to navigate to the scheduling menu, then use the UP and DOWN buttons to set your desired temperature and time periods for each day. Save your settings to ensure energy efficiency and consistent comfort throughout the week. This feature is ideal for optimizing your HVAC system’s performance based on your lifestyle and preferences.
3.3 Customizing Temperature Settings
Customizing temperature settings on the Venstar T2800 involves adjusting setpoints to match your preferences and schedule. Use the UP and DOWN buttons to modify temperature values displayed on the screen. Access the menu by pressing the MODE button, then navigate to temperature settings. Adjust heating and cooling setpoints independently or together, depending on your system. Save changes to maintain energy efficiency and comfort. This feature ensures optimal performance tailored to your lifestyle.
Operating Modes
The Venstar T2800 thermostat offers Manual, Auto-Changeover, and Programmable modes. Manual mode provides basic temperature control, while Auto-Changeover automatically switches between heating and cooling. Programmable mode allows custom schedules, optimizing energy use and comfort. These modes ensure flexibility for various HVAC systems and user preferences, making it suitable for both residential and commercial settings. The thermostat adapts seamlessly to different operating needs, enhancing efficiency and ease of use.
4.1 Manual Mode
In Manual Mode, the Venstar T2800 thermostat operates without programmed schedules, allowing direct temperature control. Users can adjust heating and cooling settings manually, ideal for immediate adjustments; This mode is perfect for those who prefer simplicity or need temporary overrides. It provides straightforward operation, enabling quick changes without altering programmed settings, making it a convenient option for users who want basic control without advanced features.
4.2 Auto-Changeover Mode
The Auto-Changeover Mode allows the Venstar T2800 thermostat to automatically switch between heating and cooling based on the set temperature. This mode is ideal for maintaining consistent comfort by seamlessly transitioning between heating and cooling as needed. It ensures energy efficiency by only activating the necessary system to reach the desired temperature, making it a convenient option for climates requiring both heating and cooling throughout the day.
4.3 Programmable Mode
The Programmable Mode on the Venstar T2800 allows users to set custom temperature schedules for different times of the day and days of the week. This mode offers 7-day flexibility, enabling precise control over heating and cooling systems. Users can program specific temperatures for wake, sleep, and away periods, optimizing comfort and energy savings. The thermostat’s interface simplifies the scheduling process, ensuring efficient and tailored climate control.

Advanced Features
The Venstar T2800 offers advanced features like humidity control, fan operation, and smart home integration, enhancing user experience and energy efficiency while providing precise climate management.
5.1 Humidity Control
The Venstar T2800 includes humidity control features, allowing users to manage moisture levels alongside temperature. This ensures optimal indoor air quality and prevents excessive humidity, which can cause discomfort or damage. The thermostat integrates seamlessly with humidifiers and dehumidifiers, offering automated adjustments based on set points. This feature is particularly beneficial in regions with high humidity, promoting a healthier and more comfortable environment year-round.
5.2 Fan Control
The Venstar T2800 offers advanced fan control, allowing users to customize airflow settings. The thermostat supports continuous fan operation or auto mode, where the fan runs only when heating or cooling is active. This feature enhances air circulation, improving indoor air quality and system efficiency. Additionally, programmable fan settings enable tailored comfort and energy savings, making it ideal for maintaining consistent conditions in commercial spaces.
5.3 Remote Access and Smart Home Integration
The Venstar T2800 supports remote access through Wi-Fi, allowing users to control settings via a smartphone or tablet. It integrates seamlessly with popular smart home systems like Apple HomeKit and Amazon Alexa. Using the Venstar app, users can adjust temperatures, monitor energy usage, and receive notifications. This feature enhances convenience and energy efficiency, enabling users to manage their HVAC system from anywhere, ensuring optimal comfort and savings.

Maintenance and Troubleshooting
Regularly clean the thermostat and check sensors for accuracy. Ensure proper HVAC system operation and refer to the manual for common issues and solutions.
6.1 Routine Maintenance Tips
Perform regular cleaning of the thermostat’s display and sensors to ensure accurate temperature readings. Replace batteries if applicable and check wiring connections for any damage or wear. Schedule annual HVAC system checks by a professional to maintain optimal performance and extend the thermostat’s lifespan. Refer to the user manual for detailed maintenance instructions and troubleshooting guides.
6.2 Common Issues and Solutions
One common issue is incorrect temperature display, often resolved by recalibrating the thermostat. Another issue is unresponsive buttons, which may require a factory reset. If the thermostat fails to connect to HVAC systems, check wiring connections and ensure power is supplied. Refer to the troubleshooting section in the manual for step-by-step solutions and guidelines to restore functionality efficiently.
6.3 Resetting the Thermostat to Factory Settings
Resetting the Venstar T2800 to factory settings restores default configurations. Press and hold the MODE and HUMIDITY buttons simultaneously for 5 seconds. This action erases all custom settings, so ensure to back up your configurations first. After resetting, the thermostat will reboot and operate using factory default settings. Refer to the manual for detailed instructions to reprogram the device according to your preferences.
References and Resources
Refer to the Venstar T2800 Owners Manual (PDF, 89 pages) for comprehensive details. Additional guides and documentation are available at https://thermostat.guide/venstar/venstar-t2800-programmable-thermostat-owner-manual/.
7.1 Where to Find the Full User Manual
The Venstar T2800 user manual is readily available online as a PDF. Visit the official Venstar website or trusted sources like https://thermostat.guide/venstar/venstar-t2800-programmable-thermostat-owner-manual/ to download it free of charge. This 89-page document covers installation, programming, and troubleshooting, ensuring comprehensive guidance for optimal thermostat operation.
7.2 Additional Guides and Documentation
Beyond the owner’s manual, additional guides for the Venstar T2800 include installation instructions, calibration manuals, and specification updates. These resources are available in PDF format and can be downloaded from trusted sites like https://thermostat.guide/venstar/. They provide detailed insights into programming, troubleshooting, and advanced features, ensuring users can maximize the thermostat’s functionality and efficiency.
The Venstar T2800 thermostat is a versatile and efficient solution for commercial HVAC control, offering advanced features like 7-day programming and humidity control. With comprehensive manuals and guides available, users can easily install, program, and maintain the device. By following the provided instructions and leveraging its smart capabilities, the T2800 ensures optimal comfort and energy savings, making it a reliable choice for modern spaces.

FAQs
- How do I install the T2800? Follow the step-by-step guide in the manual.
- Can I program schedules? Yes, use the 7-day programmable feature.
- Does it support humidity control? Yes, it offers advanced humidity management.
9.1 How to Program the T2800
Programming the T2800 involves setting your desired temperature and schedule. Press the “PROG” button to access programming mode. Use the up/down arrows to adjust temperatures and select days. Choose from 7-day, 5-day, or 1-day schedules. Set heating and cooling periods, then press “SAVE” to confirm. Ensure the thermostat is in “RUN” mode to activate your schedule. Refer to the manual for detailed step-by-step guidance and advanced options.